Edge connectors are a cheap and simple way to avoid using standard connectors and having to open and plate holes, or to use SMT connectors. As we've been putting our new SV2 PCB Printer through her paces, we have begun to try a few ideas that we hadn't thought of. Edge connectors are wide and varied, and often require a specialized female connector. The most memorable connector is the PCI, a type commonly found inside Desktop computers as expansion slots on your motherboard. Believe it or not, no one has a Desktop Computer in our office, so we started testing printed edge connectors with the venerable USB.
The goal here was to create a simple connector that we could plug in and remove very quickly into an ordinary USB A-plug, repeating up to 1000 times or until failure. For this test, we weren't interested in data fidelity after x number of cycles. We also took bets on how long it would last, with a few people predicting no more than 50 cycles before failure. To our genuine surprise, the results were nowhere near this figure.
Design
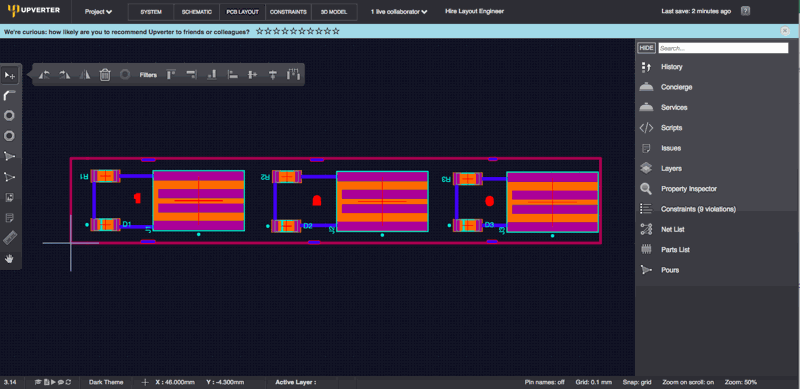
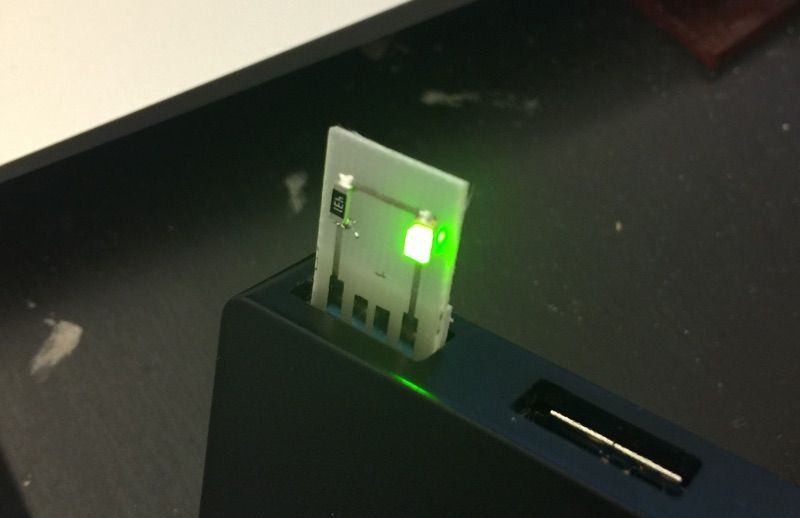
The first step of the process we began designing a set of USB 'keys' with a 1206-sized LED and a resistor. We thought about designing something complex, but the real goal was to determine if there would be any immediate risk of failure.
I used Upverter to make this design - if you'd like access to these files, please contact us for more details!
Upload
After designing the keys, I booted up my SV2 and uploaded the Gerber files.
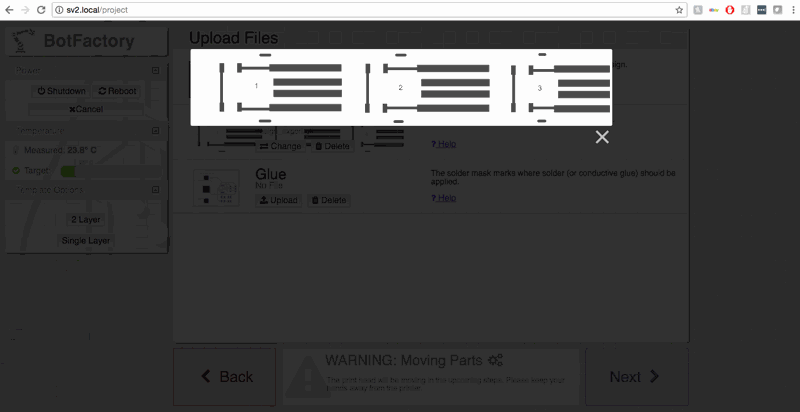
This was a fairly straightforward design - it was printed in less than 5 minutes, and cured in 5 minutes. From design to my hands, I estimate no more than 15 minutes including set-up and cutting the boards out using our PCB shears.
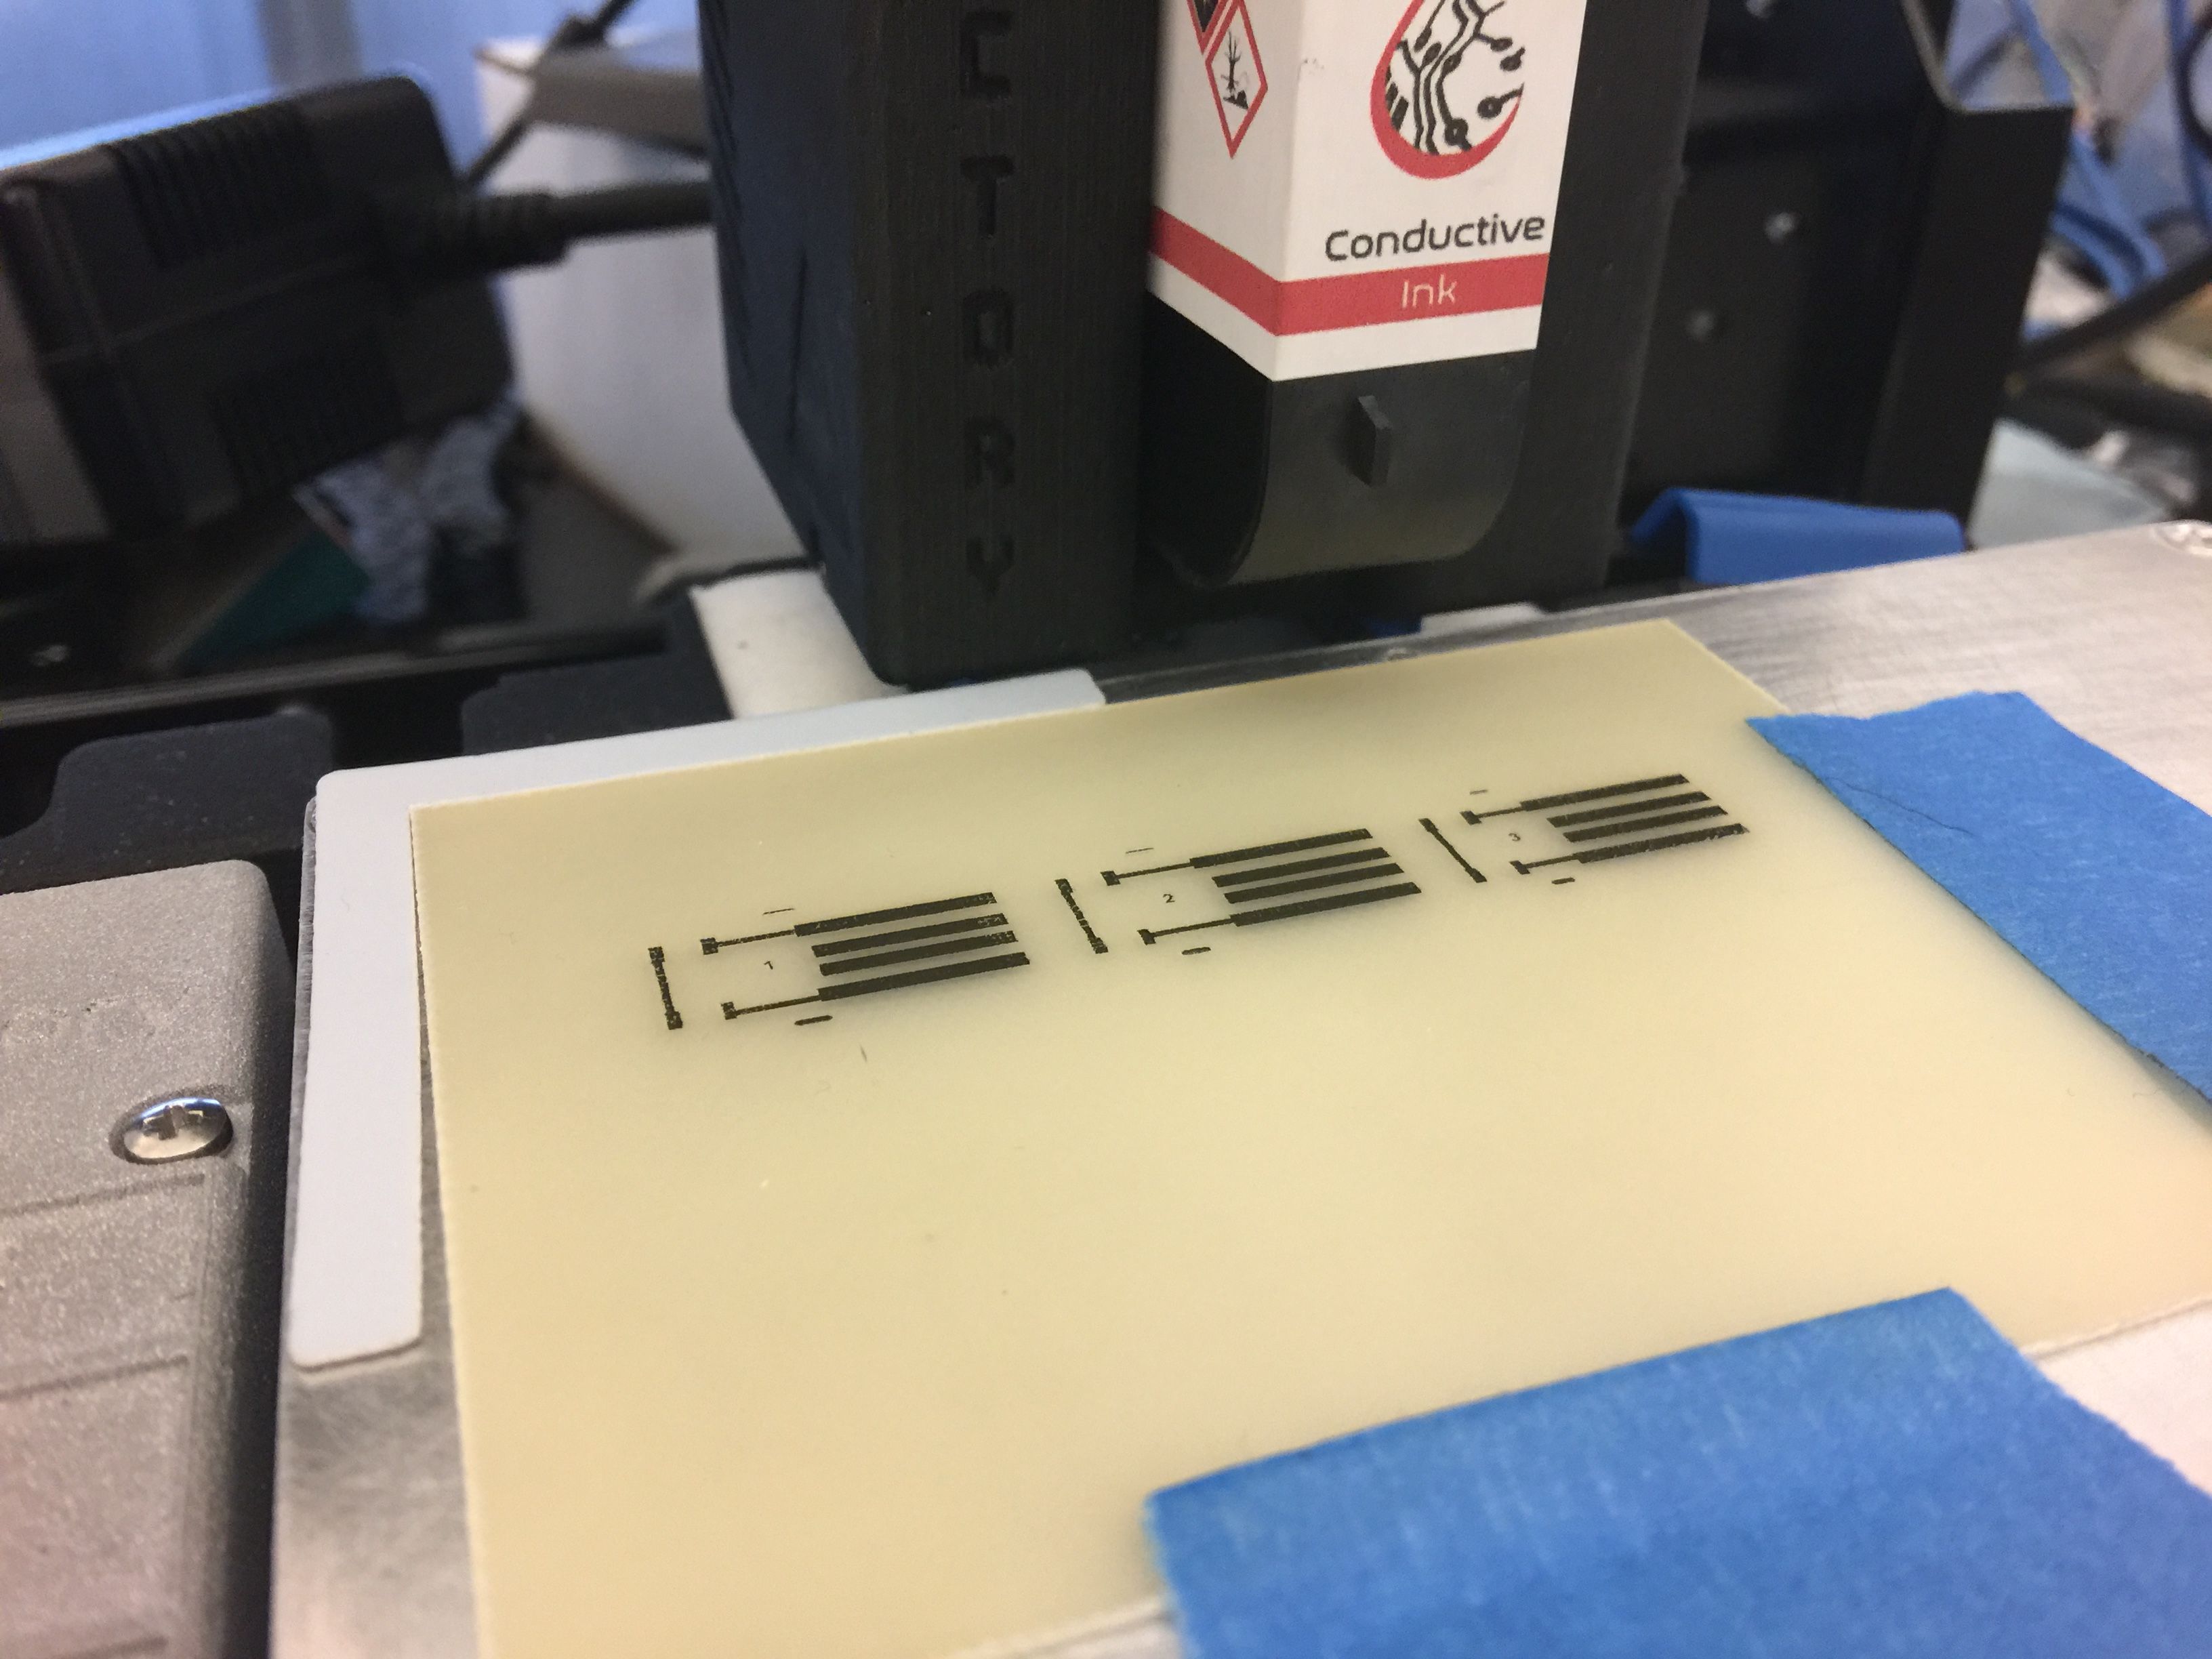
One of the big advantages of SV2 is our new heatbed/fan setup, which allows for extremely rapid heat-up and cool-down cycling. For Squink users, you might feel envious - we love it. It makes prototyping a whole lot faster!
Assemble
One new feature of SV2 is our new one-part epoxy. This stuff dispenses much finer and is just as strong as the two-part epoxies, but cures within 3 to 5 minutes. Pick and place was easy - 1206s can be placed no issue.
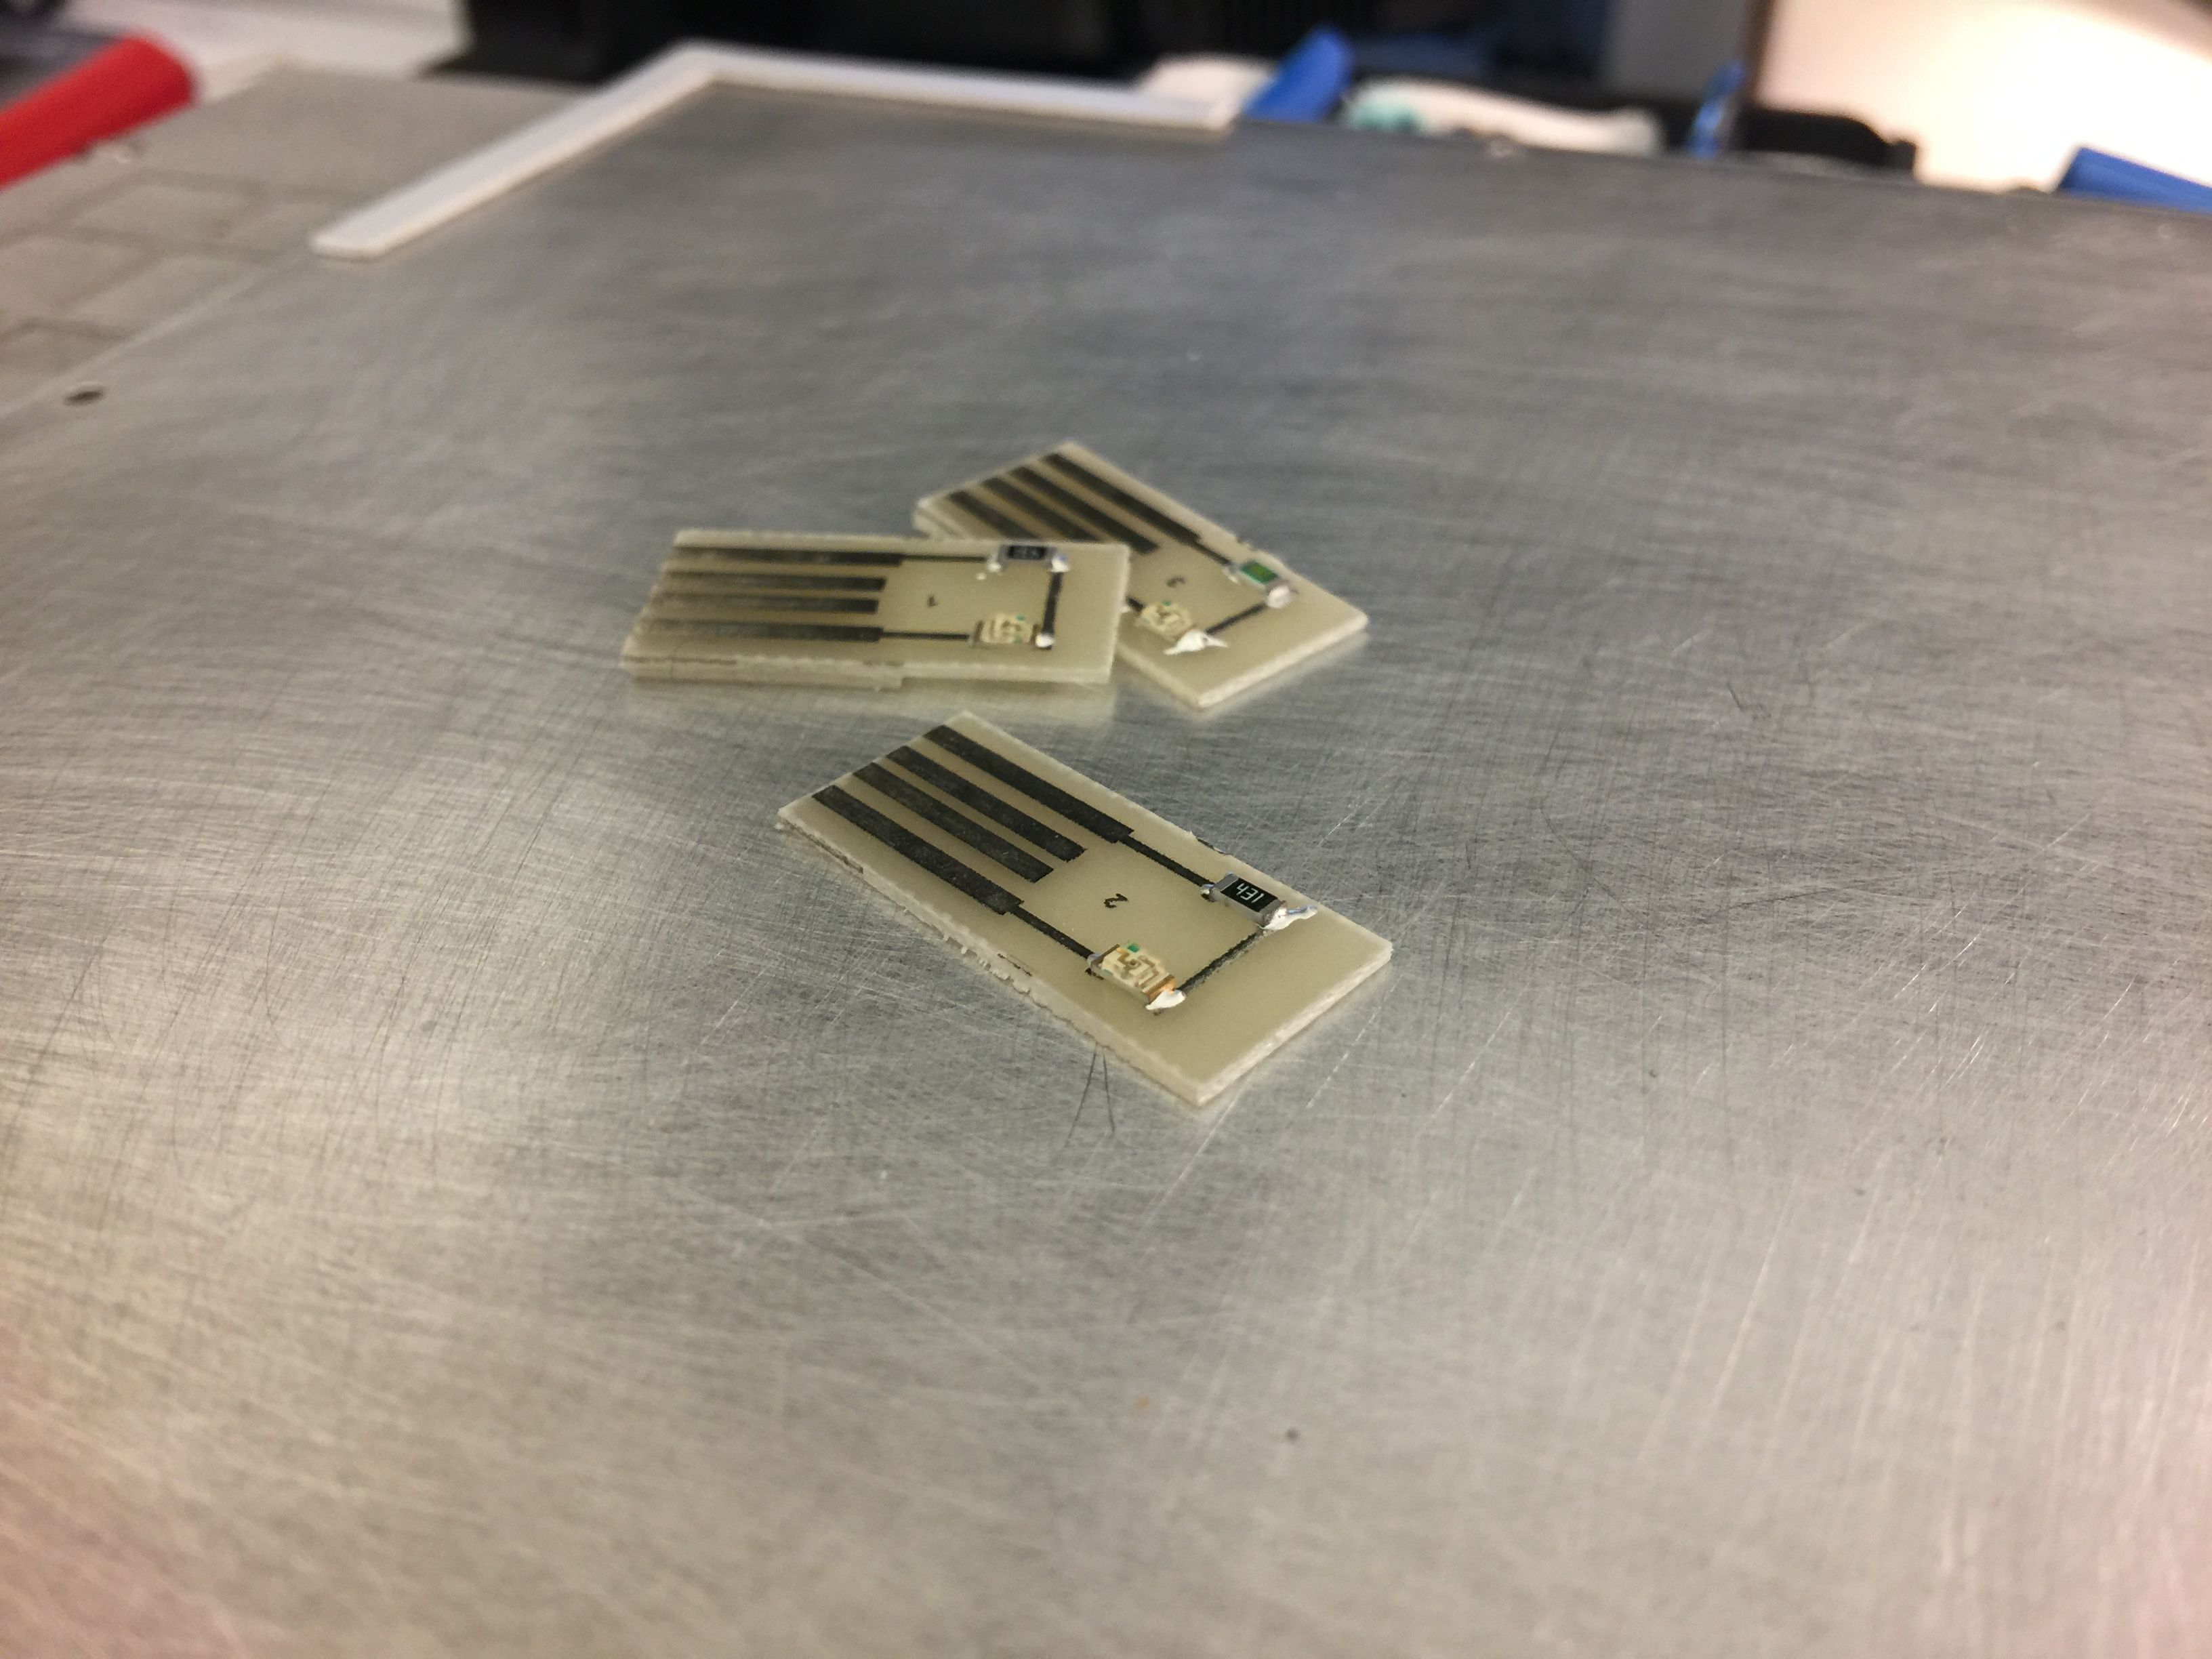
Test
Getting anyone to volunteer their computer for the test was not easy - I don't blame them. I found a spare power adapter and plugged directly in. Worked right away!
Over the next few minutes, I would rapidly stick-in and remove each key, again and again, counting and marking every 50 counts. After 500 cycles, I was wondering not when, but IF USB pads would break or not. By the time 1000 cycles hit, we weren't even mad. A 1000 cycles is better than daily use over a year - excellent results for prototyping devices that might be used in the field or in a customer's hands for a short period of time.
Results
Considering that typical USB connectors spec 1,500 to 10,000 mating cycles, 1000 is very respectable. However, closer inspection reveals that the USB connection (Left-before, right-after) was certainly scarred and battered, despite being completely operational.
Using USB connectors in your day-to-day prototyping is a really simple way to get a 5V source without any complicated connectors or wasted space and time. We didn't look deeply into USB design for data transfer - for the purposes of this experiment we wanted to see and share how durable these damn connectors are.
Want to know more about how we created these USB edge connectors? Have any questions about how SV2 or Squink could be used in your projects? Give us a call or contact us by email - we'd be happy to help!
