When and why to align your cartridges
Running the alignment test.
A misaligned cartridge can result in thicker vertical lines and in some cases can even lead to shorts. With this in mind, we made sure your inkjet heads can be adjusted to align the cartridge. To make sure your Print Head can be adjusted as described in this tutorial check the left side (with the fans) for a hole for the set screw.
Important! This tutorial will only work if your Print Head has this hole on the left side.
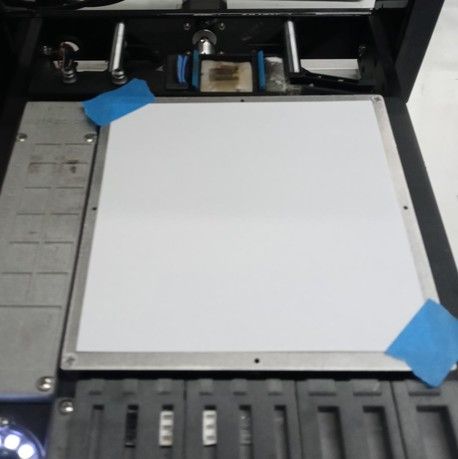
Begin by taping a 6 x 6 square piece of white paper onto the working surface.
Now to run the alignment test, navigate to the url:
(printer-url)/qa_sv2/inkjet_test_head_alignment.json
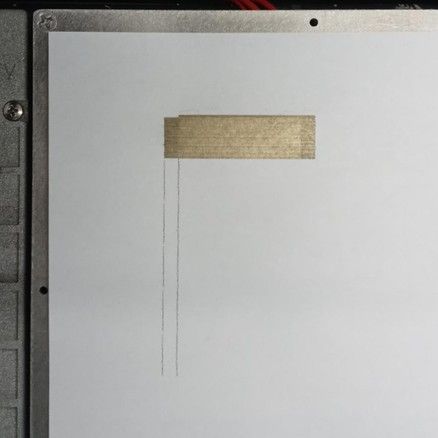
This test will print a solid swath of ink several times to warm up the nozzles and then print thin vertical lines down bellow the thick solic line.
Below is an example of a failed alignment test
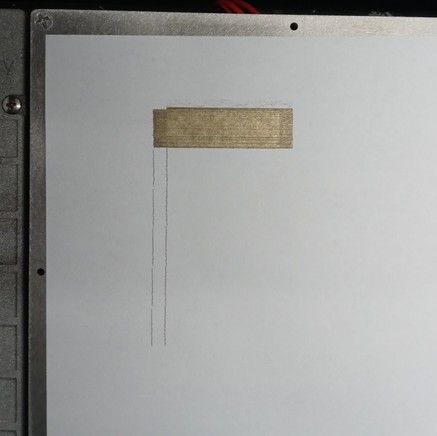
As you can see, the vertical lines are slightly diagonal and are not continous.
Adjusting the alignment.
Looking at the front of the inkjet head, on the left side there is a hole. Insert a 2.5mm hex key into that hole and either tighten or loosen the set screw.
/ /
/ /
\ \
\ \